When Flux burst onto the scene a few days ago, it quickly earned a reputation as the crown jewel of open-source image generators. It matched Midjourney's aesthetic prowess while absolutely crushing it in prompt understanding and text generation. The catch? You needed a beefy GPU with over 24GB of VRAM (or even more) just to get it running. That's more horsepower than most gaming rigs, let alone your average work laptop.
But the AI community, never one to back down from a challenge, rolled up its collective sleeves and got to work. Through the magic of quantization—a fancy term for compressing the model's data—they've managed to shrink Flux down to a more manageable size without sacrificing too much of its artistic mojo.
Let's break it down: The original Flux model used full 32-bit precision (FP32), which is like driving a Formula 1 car to the grocery store—overkill for most. The first round of optimizations brought us FP16 and FP8 versions, each trading a smidge of accuracy for a big boost in efficiency. The FP8 version was already a game-changer, letting folks with 6GB GPUs (think RTX 2060) join the party.
To do this, you need to disable System Memory Callback for Stable Diffusion, so your GPU can offload some of its work from its internal VRAM to your system RAM. This avoids the infamous OOM (out-of-memory) error—albeit at the cost of it running considerably slower. To disable this option, follow this tutorial by Nvidia .
But hold onto your hats, because it gets even better.
The real MVPs of the AI world have pushed the envelope further, releasing 4-bit quantized models. These bad boys use something called "Normal Point" (NP) quantization, which delivers a sweet spot of quality and speed that'll make your potato PC feel like it just got a turbo boost. NP quantization does not degrade quality as much as FP quantization, so in general terms, running this model gives great results, at high speeds, requiring little resources.
It's almost too good to be true, but it is true.

How to run Flux on lower-end GPUs
So, how do you actually run this streamlined version of Flux? First, you'll need to grab an interface like SwarmUI, ComfyUI, or Forge. We love ComfyUI for its versatility, but in our tests, Forge gave around a 10-20% speed boost over the others, so that's what we're rolling with here.
Head over to the Forge GitHub repository ( https://github.com/lllyasviel/stable-diffusion-webui-forge ) and download the one-click installation package . It's open-source and vetted by the community, so no sketchy business here.
For the NP4 Flux models themselves, Civit AI is your one-stop shop. You've got two flavors to choose from: Schnell (for speed) and Dex (for quality). Both can be downloaded from this page .
Once you've got everything downloaded, it's installation time:
- Unzip the Forge file and open the Forge folder.
- Run update.bat to get all the dependencies.
- Fire up run.bat to complete the setup.
Now, drop those shiny new Flux models into the \webui\models\Stable-diffusion folder within your Forge installation. Refresh the Forge web interface (or restart if you're feeling old school), and boom—you're in business.
Pro tip: To really squeeze every last drop of performance out of your resurrected rig, dial back the resolution. Instead of going for full SDXL (1024x1024) resolutions, try the more modest SD1.5 sizes (768x768, 512x768, and similar). You can always upscale later and use Adetailer for those crispy details.
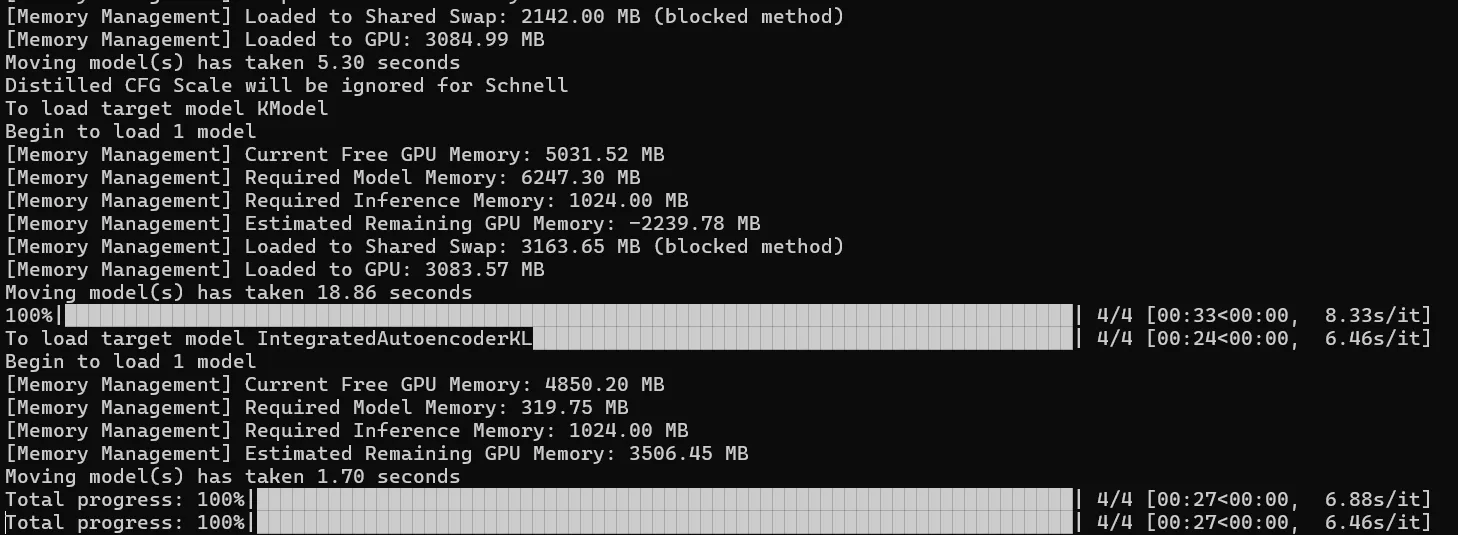
Let's talk numbers: On a humble RTX 2060 with 6GB of VRAM, Flux Schnell in NP4 mode can churn out a 512x768 image in about 30 seconds, versus 107 seconds required by the FP8 version. Want to go big? It'll take about five minutes to upscale that bad boy to 1536x1024 with a high-res fix.

Want to go big without breaking your GPU? A better option is to start with Flux Schnell at SD1.5 resolutions, then send that creation through img2img. Upscale using a standard Stable Diffusion model (SD1.5 or SDXL) with low denoise strength. The whole process clocks in around 50 seconds, rivaling MidJourney's output on a sluggish day. You'll get impressive large-scale results without melting your graphics card.
The real kicker? Some mad lads have reportedly got Flux Schnell NP4 running on a GTX 1060 with 3GB of VRAM , with Flux Dev taking 7.90s per iteration. We're talking about a GPU that's practically wheezing on life support, and it's out here generating cutting-edge AI art. Not too shabby for hardware that's practically eligible for a pension.


